How to create custom fields in Microsoft Project
This post shows how to create custom fields in Microsoft Project.
To create custom fields, go to Project > Custom Fields. Then choose the type you want and add the fields.
Following are detailed step-by-step instructions.
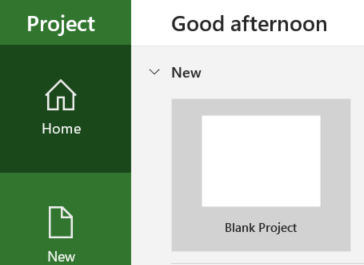
Create a blank Microsoft Project document by starting Microsoft Project and clicking on Blank Project in the Home section as shown below:
You should see headings like the following:

These are called fields. In this post, we will be adding custom fields.
Go to Project > Custom Fields

You should see a Custom Fields window. In this window, select the Type to be Flag. Choose Flag1 and click on Rename.
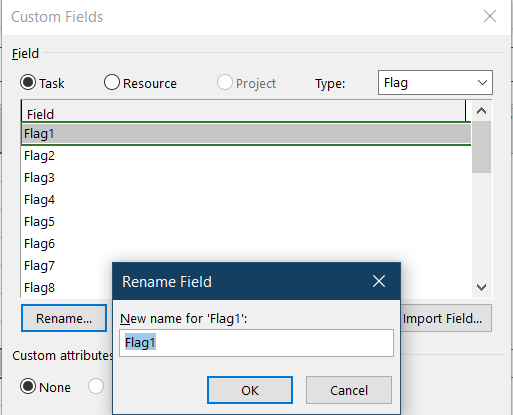
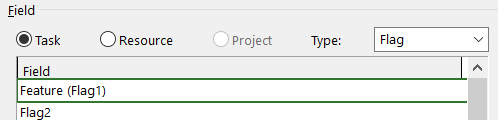
Rename Flag1 to Feature and click OK. You should see the following:
The choose Number for Type. Choose Number1 and rename it to Version. Click OK. You should see the following:

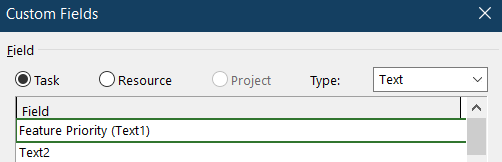
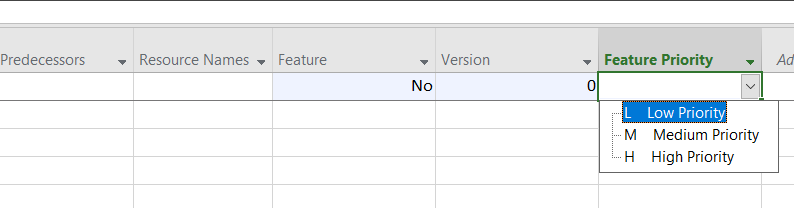
The choose Text for Type. Choose Text1 and rename it to Feature Priority. Click OK. You should see the following:
Click on the Lookup… button. You should see a Edit Lookup Table. Type L, M, H in the first column and Low Priority, Medium Priority, High Priority in the second column as show in the figure below.

Click on Close and then OK. We just created a lookup table. When using this custom field, users will be able to select from these three options.
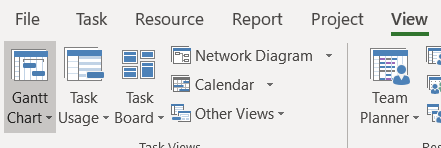
You should be in the Gantt Chart view. If you are not, click on View > Gantt Chart.
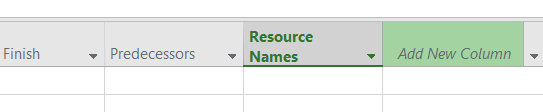
Click on Add New Column
Choose Flag1 (Feature). Repeat for Number1 (Version) and Text1 (Feature Priority). You should see the following three columns.
You have many more options and features when it comes to custom fields. I covered the most widely used customizations here. A little experimentation will help you get exactly what you need.