How to Create and Attach an EBS Volume to an EC2 instance
This post shows how to create and attach Amazon Web Services (AWS) Elastic Block Storage (EBS) to Elastic Cloud Compute (EC2).
Steps to create and attach EBS volume to EC2 instance:
- Login into AWS
- Create Volume
- Attach Volume ID to EC2 instance
- Connect to your instance using SSH
- Mount the device
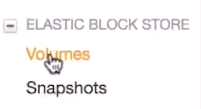
Go to Volumes Page
Login to AWS console at http://aws.amazon.com. After logging in, click on EC2 and then Volumes to reach the Volumes page.

Create Volume
Click on the Create Volume button to create a volume. See figure below:
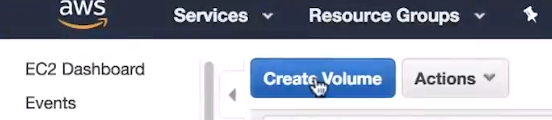
This will take you to the Create Volume page.

The Availability Zone (AZ) of your EBS volume needs to be the same as your instance. Why? If your application is running in West Virginia and your storage device is in Ireland, it will take very long for the application to execute anything and it will be wasting bandwidth. Therefore, AWS requires EBS to be in the same AZ as the EC2 instance. If you are using a Snapshot to create the volume, you can choose it in the Snapshot ID field. Volume Type is the type of storage hardware (magnetic, SSD, HDD). See figure below:

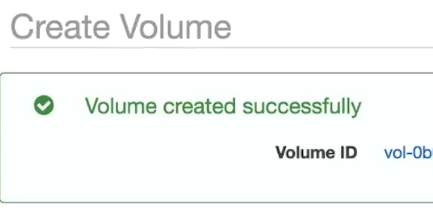
Once you have configured your volume, click on Create Volume button. You will be receive an on screen message with your new Volume ID. If you have many volumes, write it down, at least until you tag it.
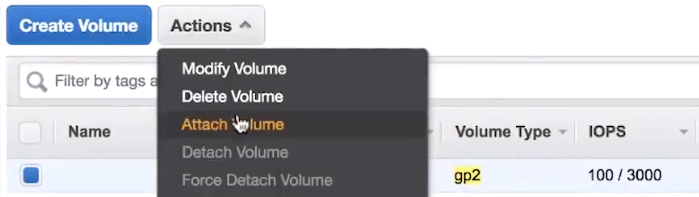
Attach Volume
Go to Volumes page. You should see you Volume in the list. Click on the checkbox next to it. Then click on Actions > Attach Volume as shown in the figure below:
You should see an Attach Volume popup as follows:

You need to specify the Instance and a Device in this form. Then click on Attach button.
Connecting to the Instance
To connect to the instance, go to the Instances. Check the checkbox next to you instance and then click on Connect. See figure below:

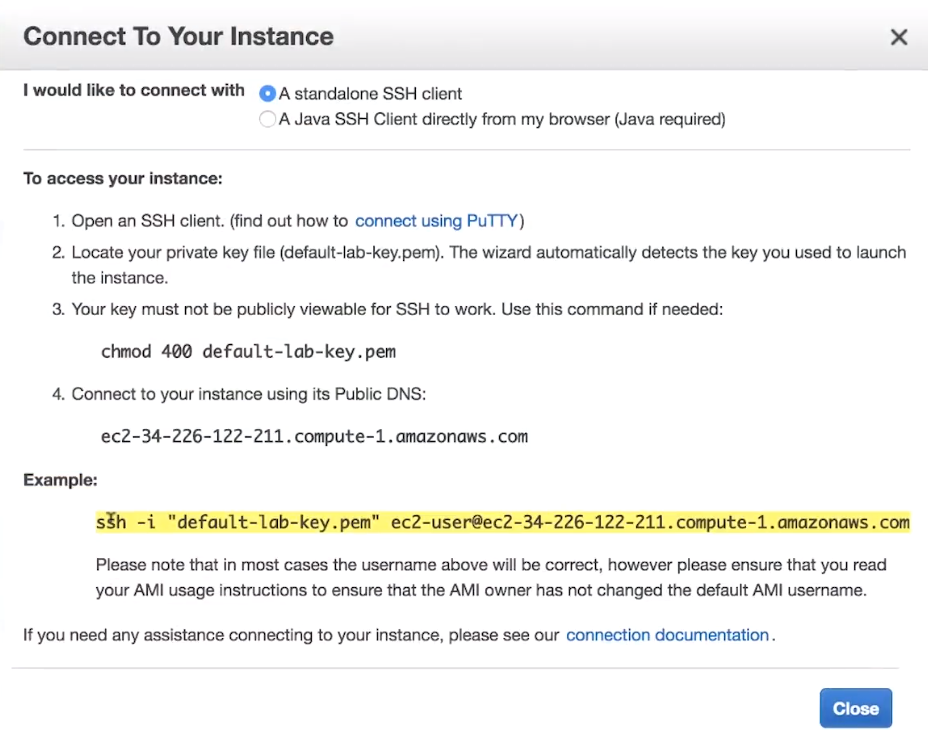
You should see the Connect to Your Instance popup. This popup helps you connect to your instance using SSH. Connect to you instance using the ssh -i … command you see under example. Just copy paste it into your terminal and hit return. Alternately you can use Putty or Java SSH client from the browser.
Run the following commands:
# list blocks
lsblk
# create filesystem
sudo mke2fs /dev/xvdb
# list blocks again to verify
lsblk
# mount drive
sudo mount /dev/xvdb /mnt
# Your block is ready to use